Difference between revisions of "Insert File as Picture / Link"
From energypedia
***** (***** | *****) m |
***** (***** | *****) m |
||
| Line 1: | Line 1: | ||
| − | |||
{{template:Tabs-1 | {{template:Tabs-1 | ||
|Energypedia_Community:_Help|Back to the Help Portal | |Energypedia_Community:_Help|Back to the Help Portal | ||
| Line 5: | Line 4: | ||
}} {{#widget:YouTube|id=BtNrfgydYpQ|height=300|width=500}} | }} {{#widget:YouTube|id=BtNrfgydYpQ|height=300|width=500}} | ||
| − | <br/>Please follow the steps of "[[ | + | <br/>Please follow the steps of "[[Upload Pictures and Documents|Uploading Pictures and Documents]]". Once the File is uploaded on the wiki you can then link it to your article. |
<br/> | <br/> | ||
Revision as of 10:15, 8 November 2016
Please follow the steps of "Uploading Pictures and Documents". Once the File is uploaded on the wiki you can then link it to your article.
Insert File as Picture
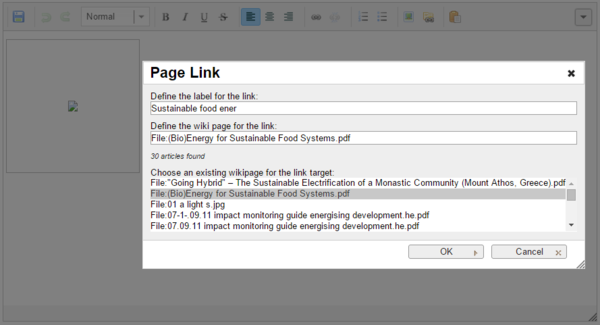
1. Click on "Link" option in the Edit toolbar
2. Type the name of the document as "File:....." into the option, "Define the wiki page for the link:" Click ok
3. Save the page and the image will be included in the article.
Insert File as Link
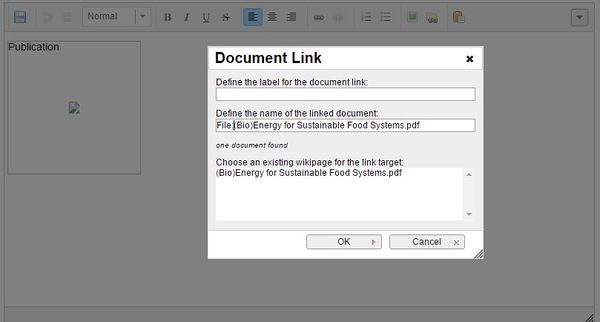
1. Click on "Document Link"
2. Type the name of the document into the option, "Define the wiki page for the link:"


